
Seamlessly integrate Metaplex's next-gen digital asset standard into your workflow
Core NFTs use Metaplex's next-gen digital asset standard mpl-core. In this guide, we'll walk through how to manage a Core Project with Underdog.
Core Projects
Core Projects manage a group of related NFTs using the mpl-core collection. All NFTs in a Core Project will be a Core NFT using the mpl-core standard. You cannot create compressed NFTs (cNFTs) inside a Core Project.
Create Projects
To get started with Core NFTs, you'll need to create a Core Project. You can create a Core Project using the dashboard or the API.
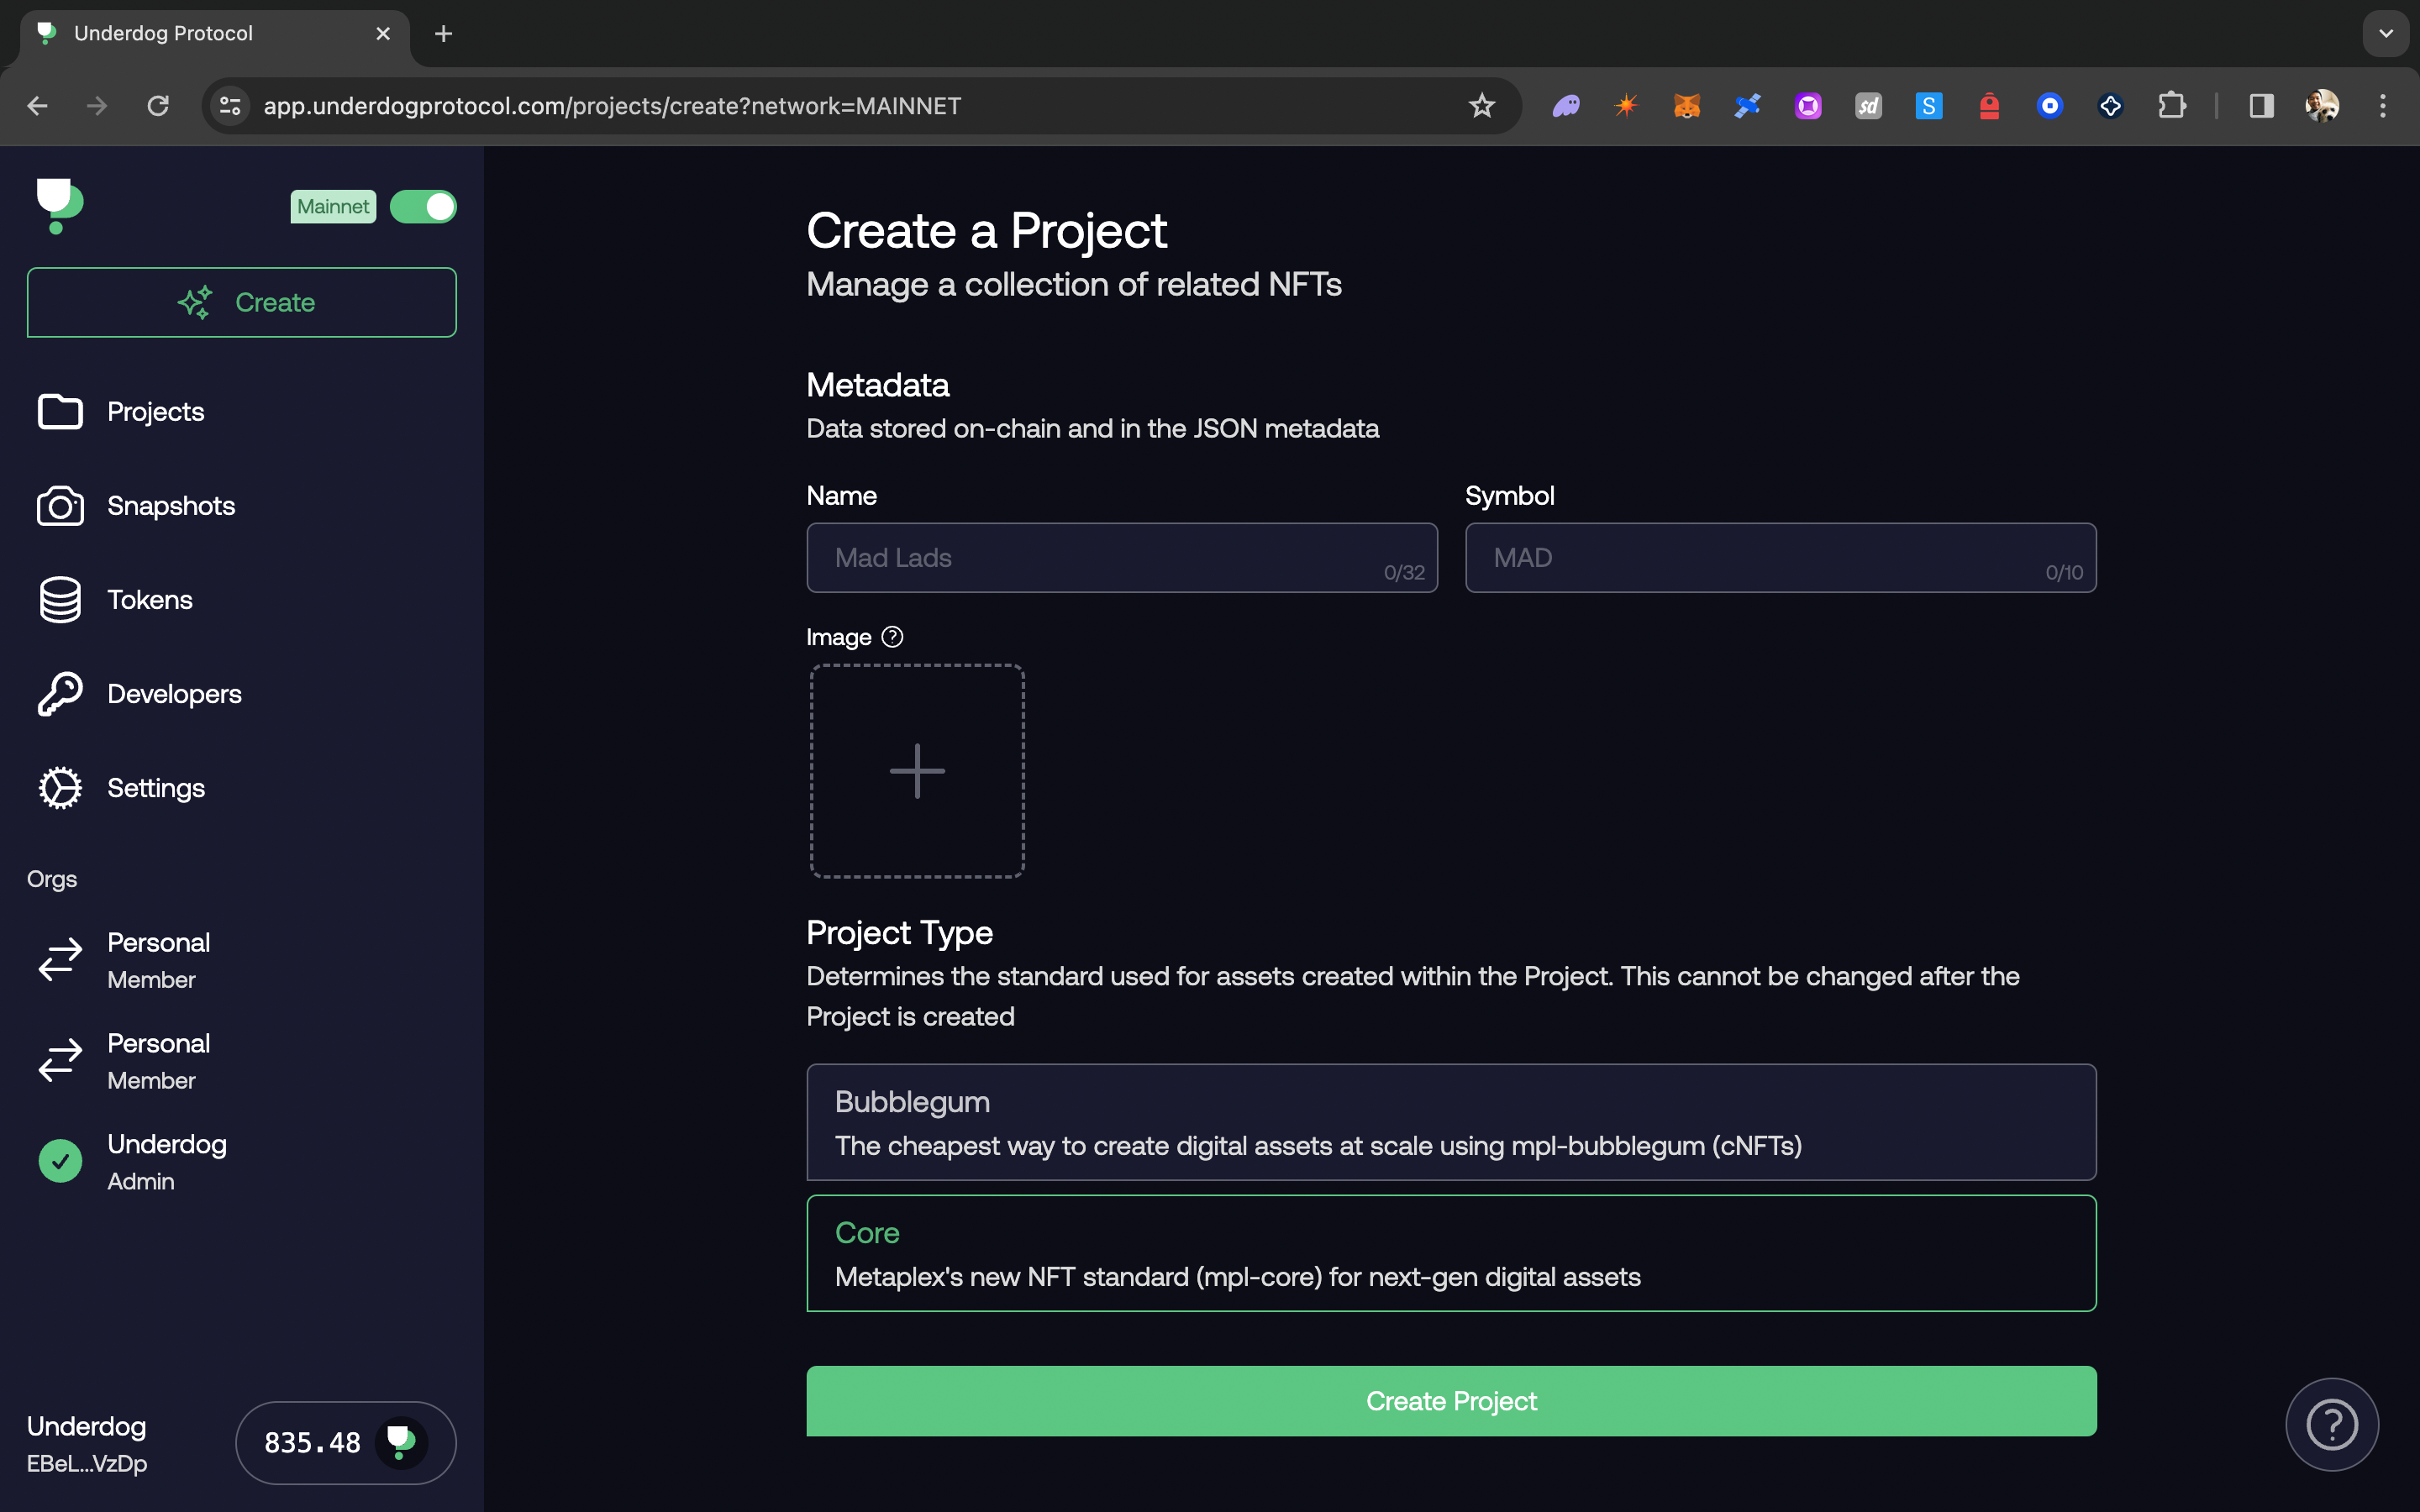
To create a Core Project in the dashboard, hit Create Project from the Projects page. Fill out your Project details and set the type to Core. You can also create a Projects programmatically using the API.
API Endpoints
Update Projects
Once you've created a Project, you can continue to update the Project details. Within the dashboard, head to the Project page and hit Settings.
Updates to Project details happen asynchronously. When you request a Project update, an on-chain transaction is created with the updated metadata. This updates the on-chain URI value so updates are picked up by both indexers and wallets which tend to cache off-chain data using a CDN.
API Endpoints
Royalties
From the same Project settings page, you can also manage enforced royalties. Projects use the royalty plugin on the collection to set the royalty amount for all NFTs within the Project. That means if you update the royalty amount for the Project, all NFTs within the Project will automatically have the updated royalty amount.
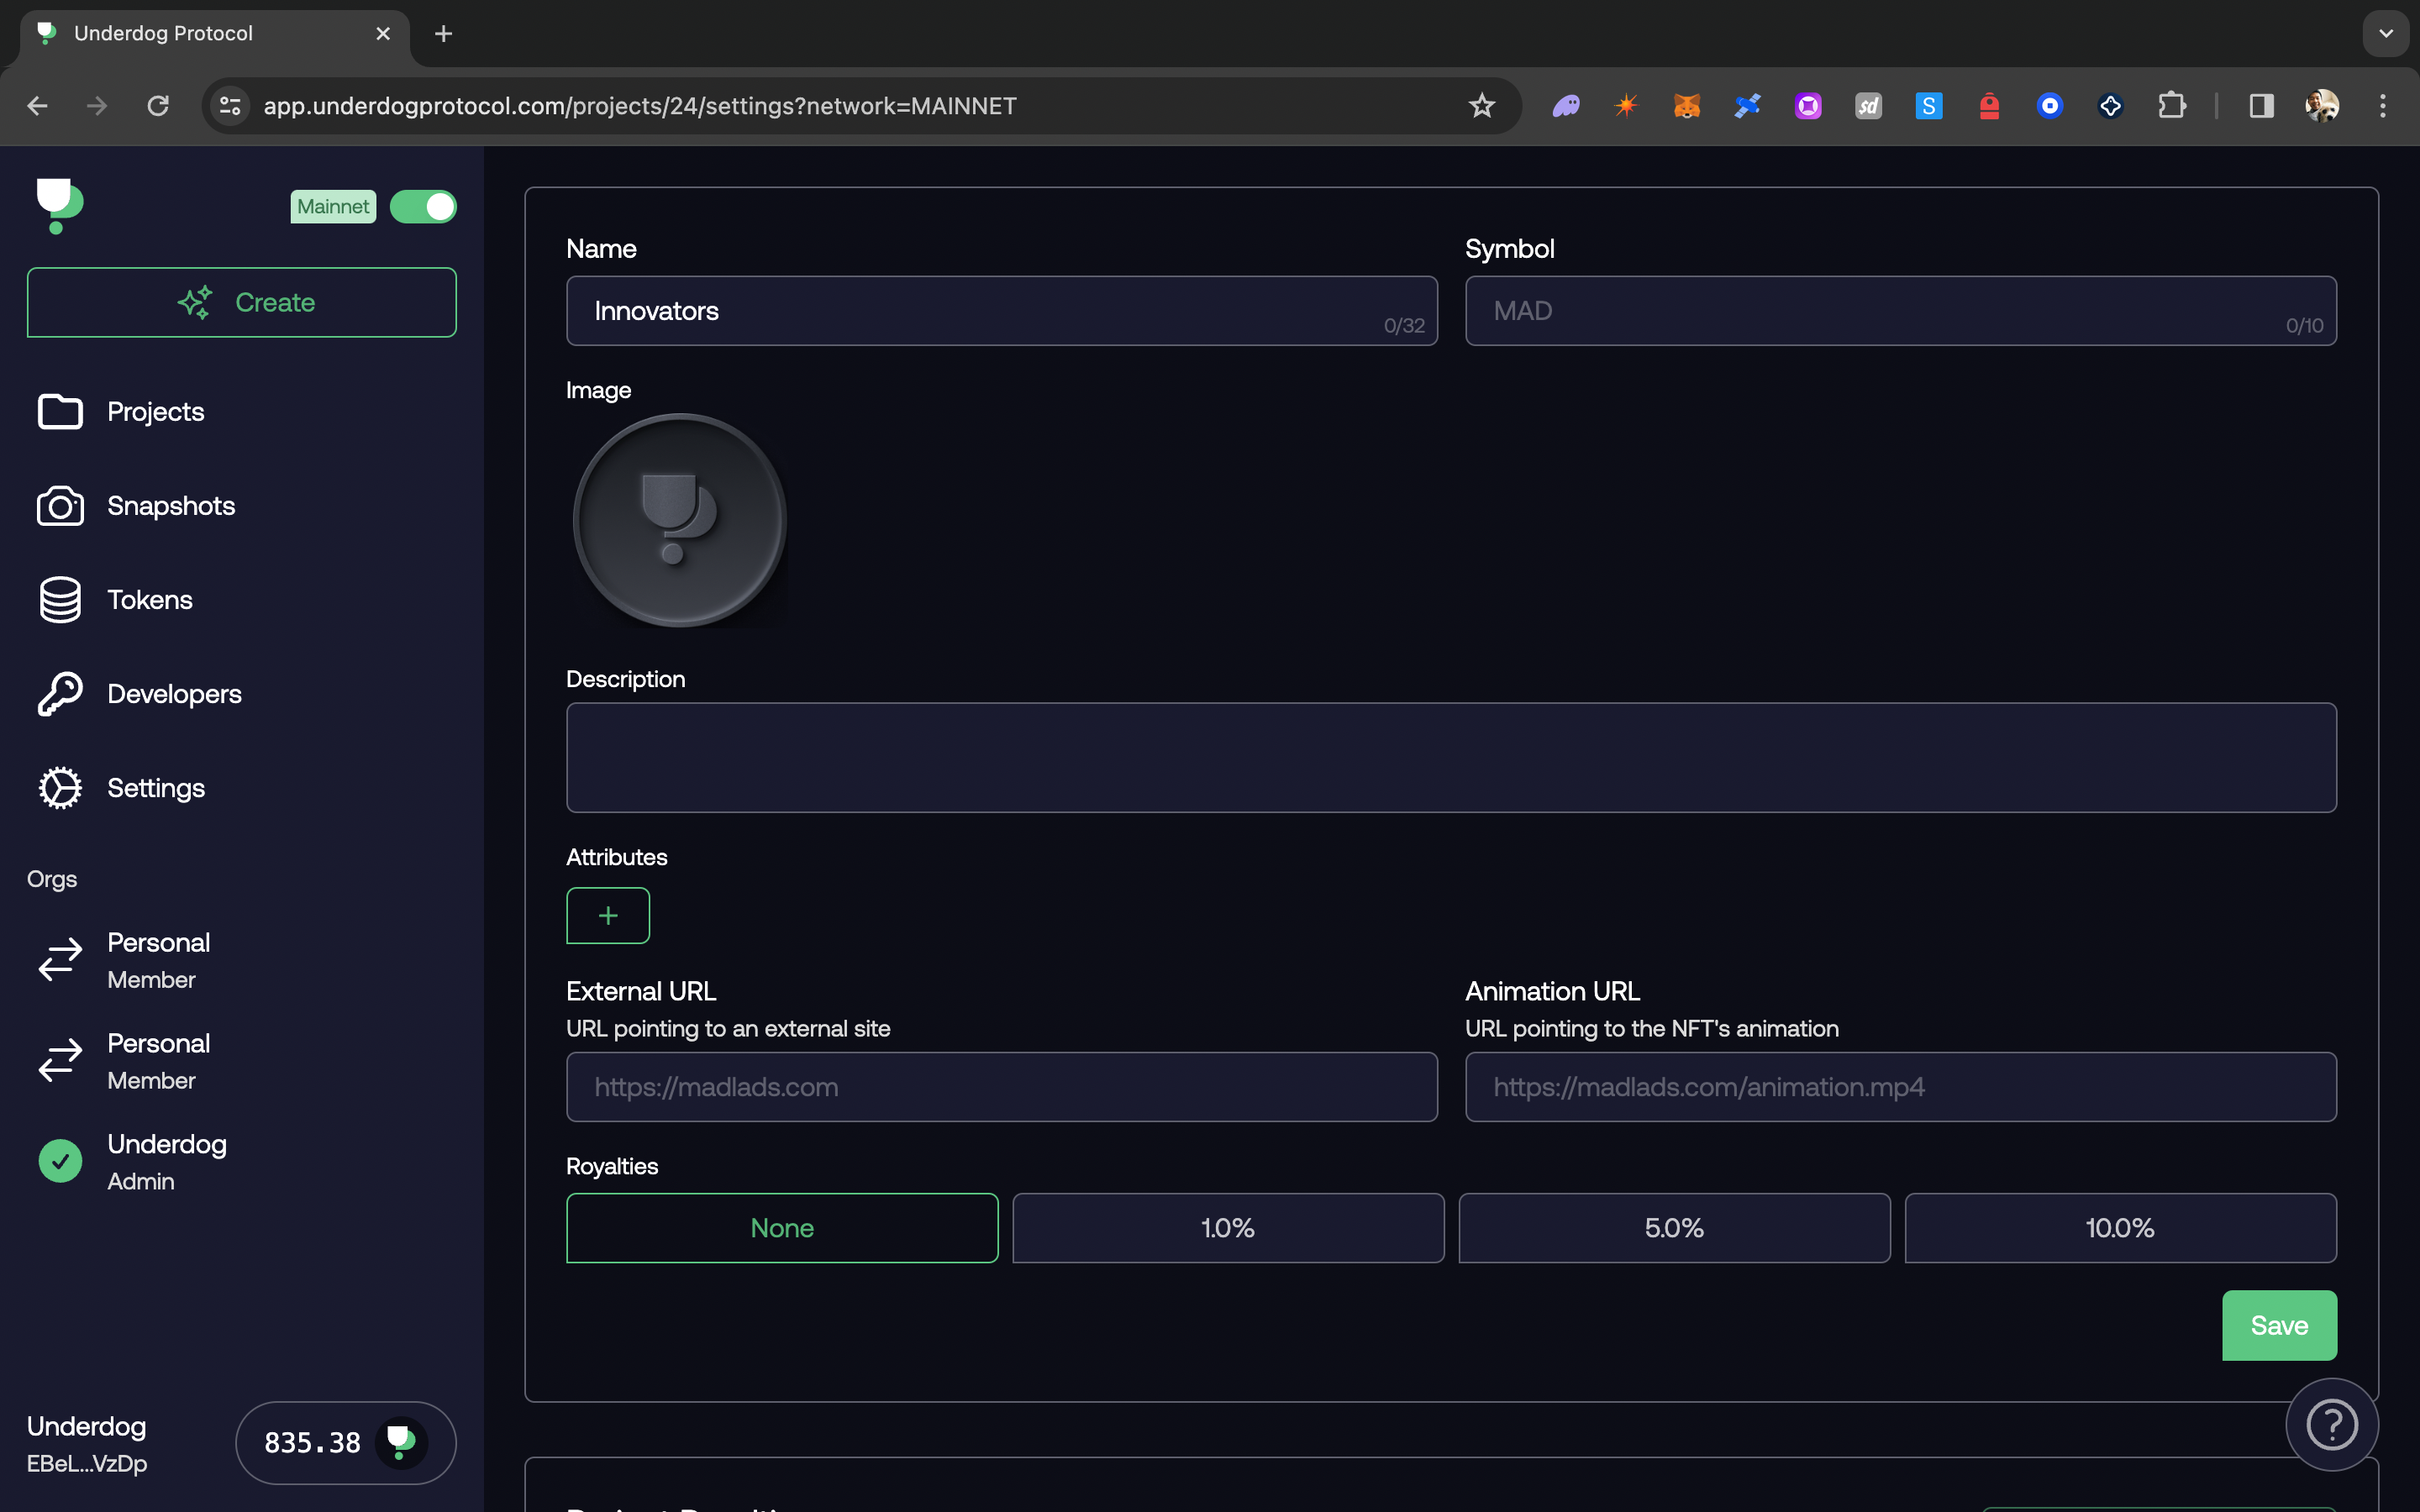
Royalties are determined by the sellerFeeBasisPoints value on the Project. When updating or creating a Project with sellerFeeBasisPoints, you need to convert the percentage royalty to a sellerFeeBasisPoints. For example, if you want 1% royalties, set sellerFeeBasisPoints to 100.
Core NFTs
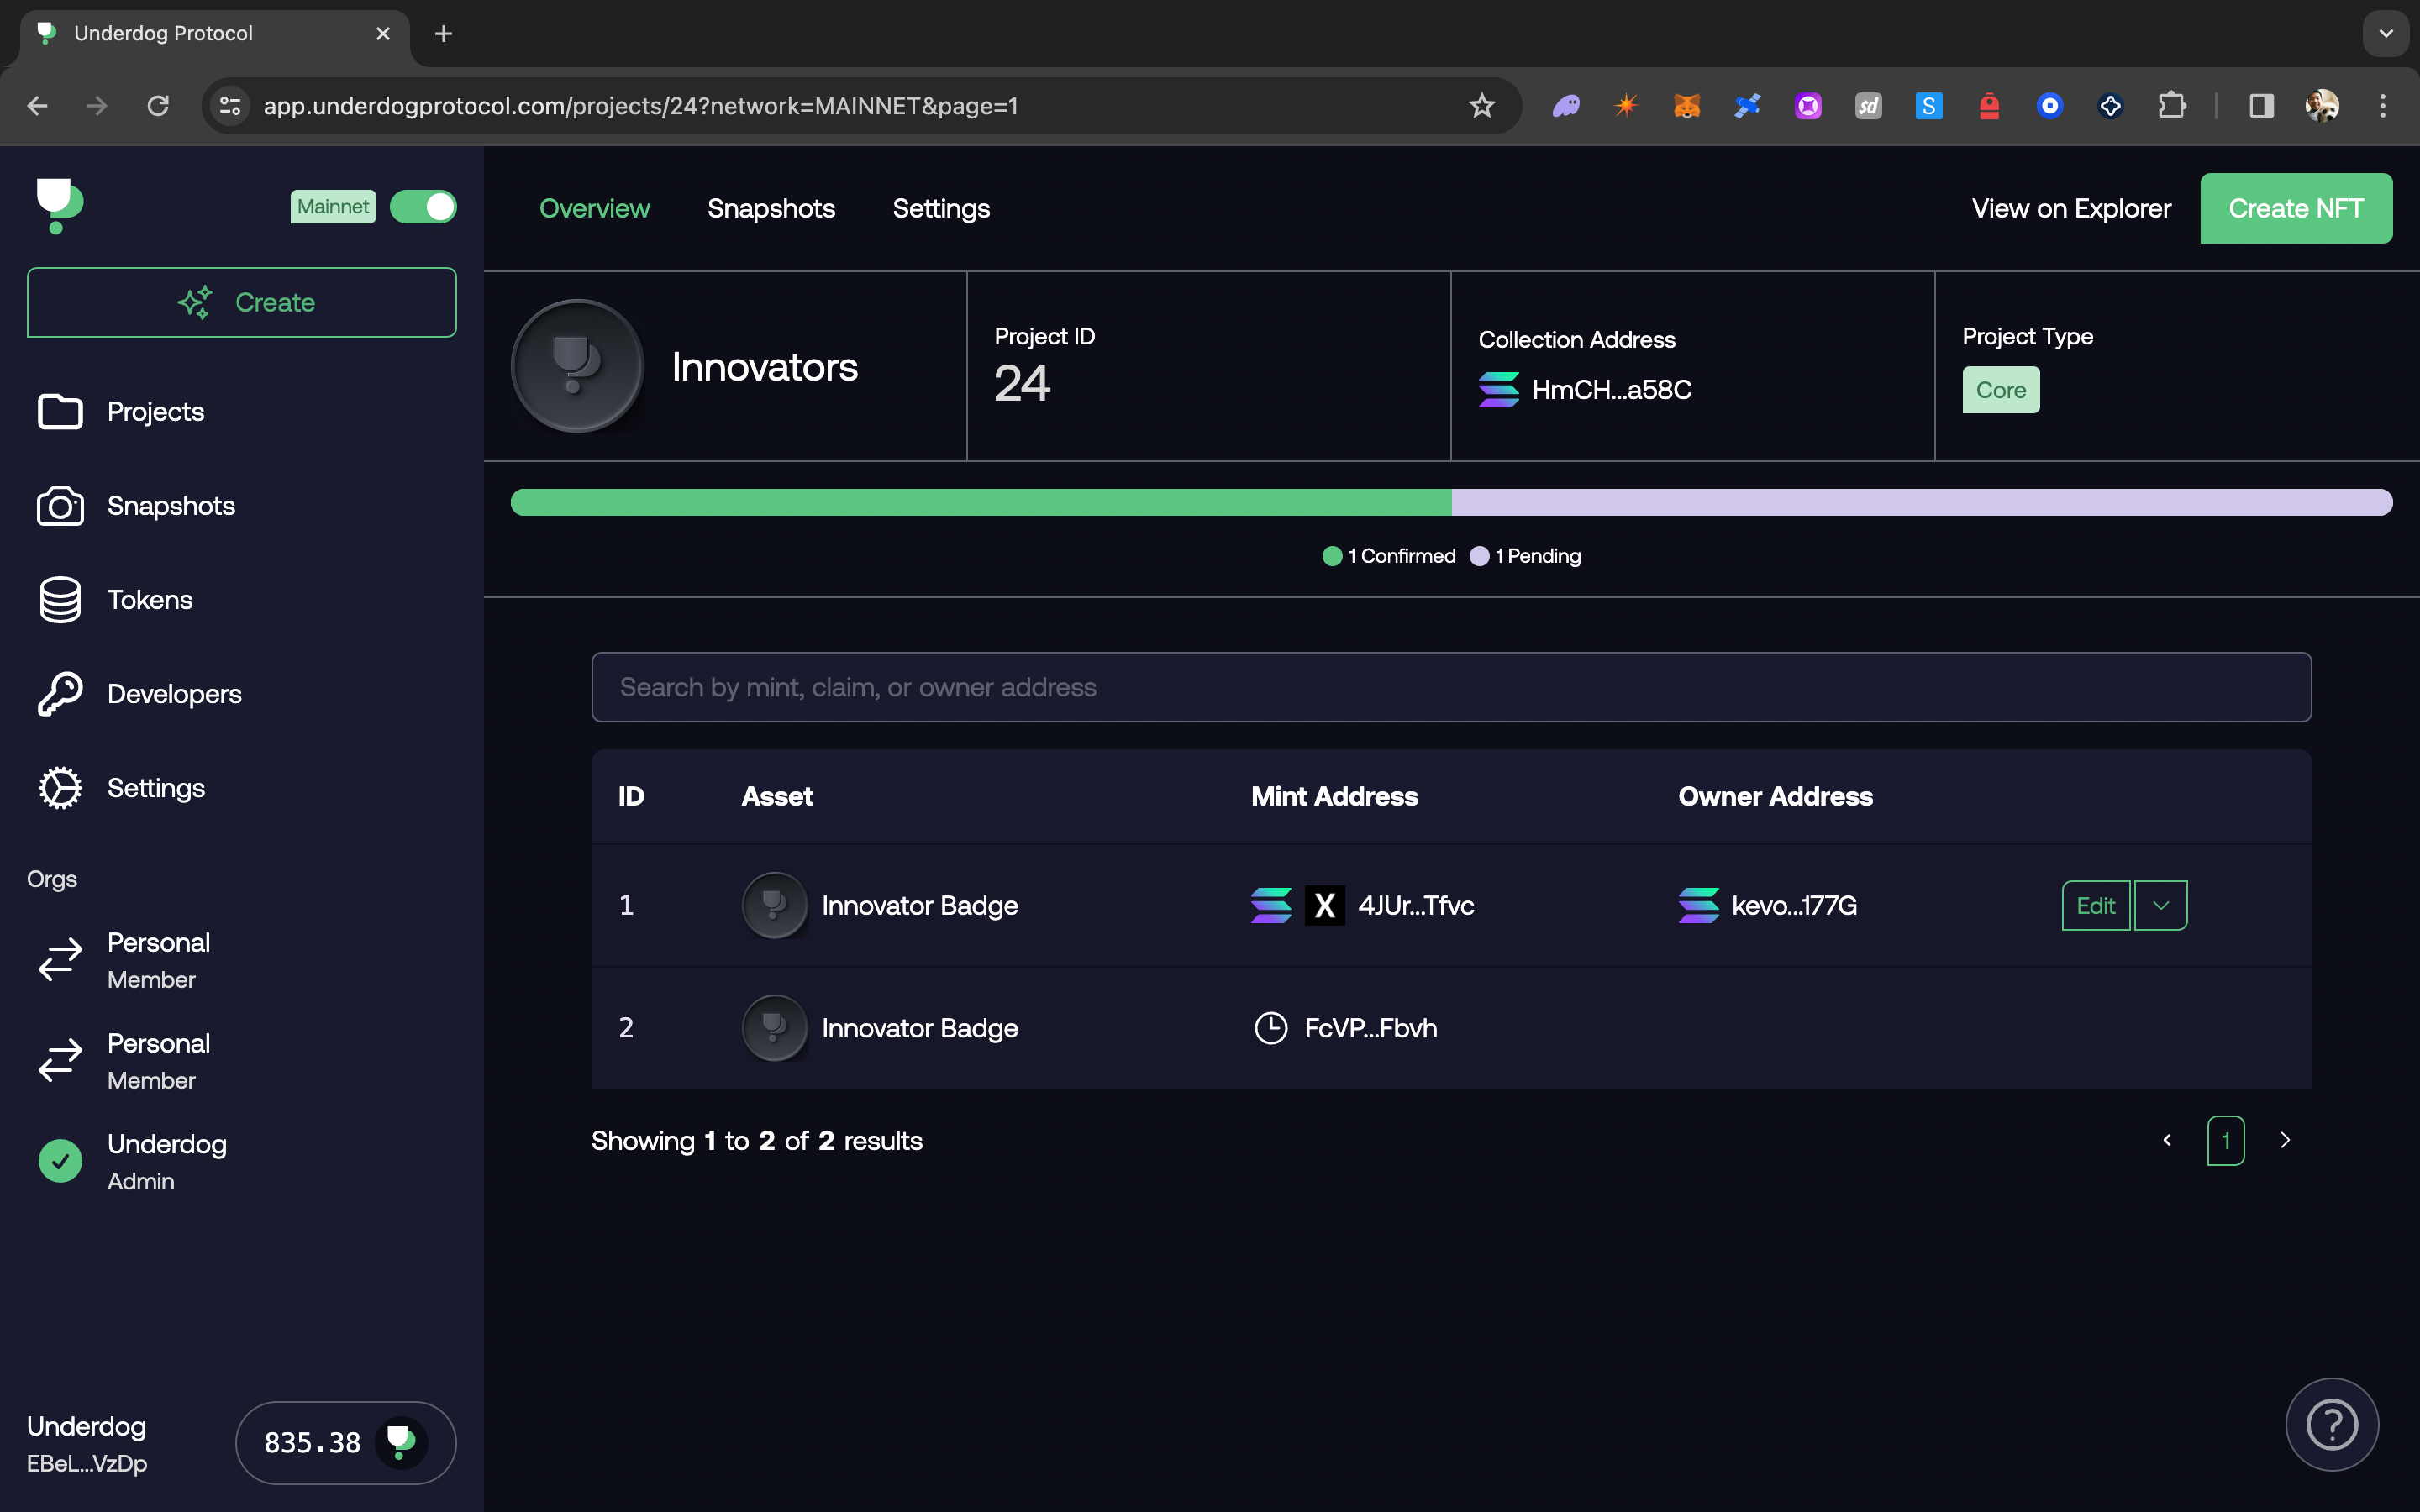
Now that you have a Core Project, you can create Core NFTs within that Project. Just like Projects, you can also create Core NFTs within the dashboard and API.
Create NFTs
To create an NFT, navigate to the Project page and hit Create NFT on the top right. All you need to do is specify the NFT metadata and a receiver address.
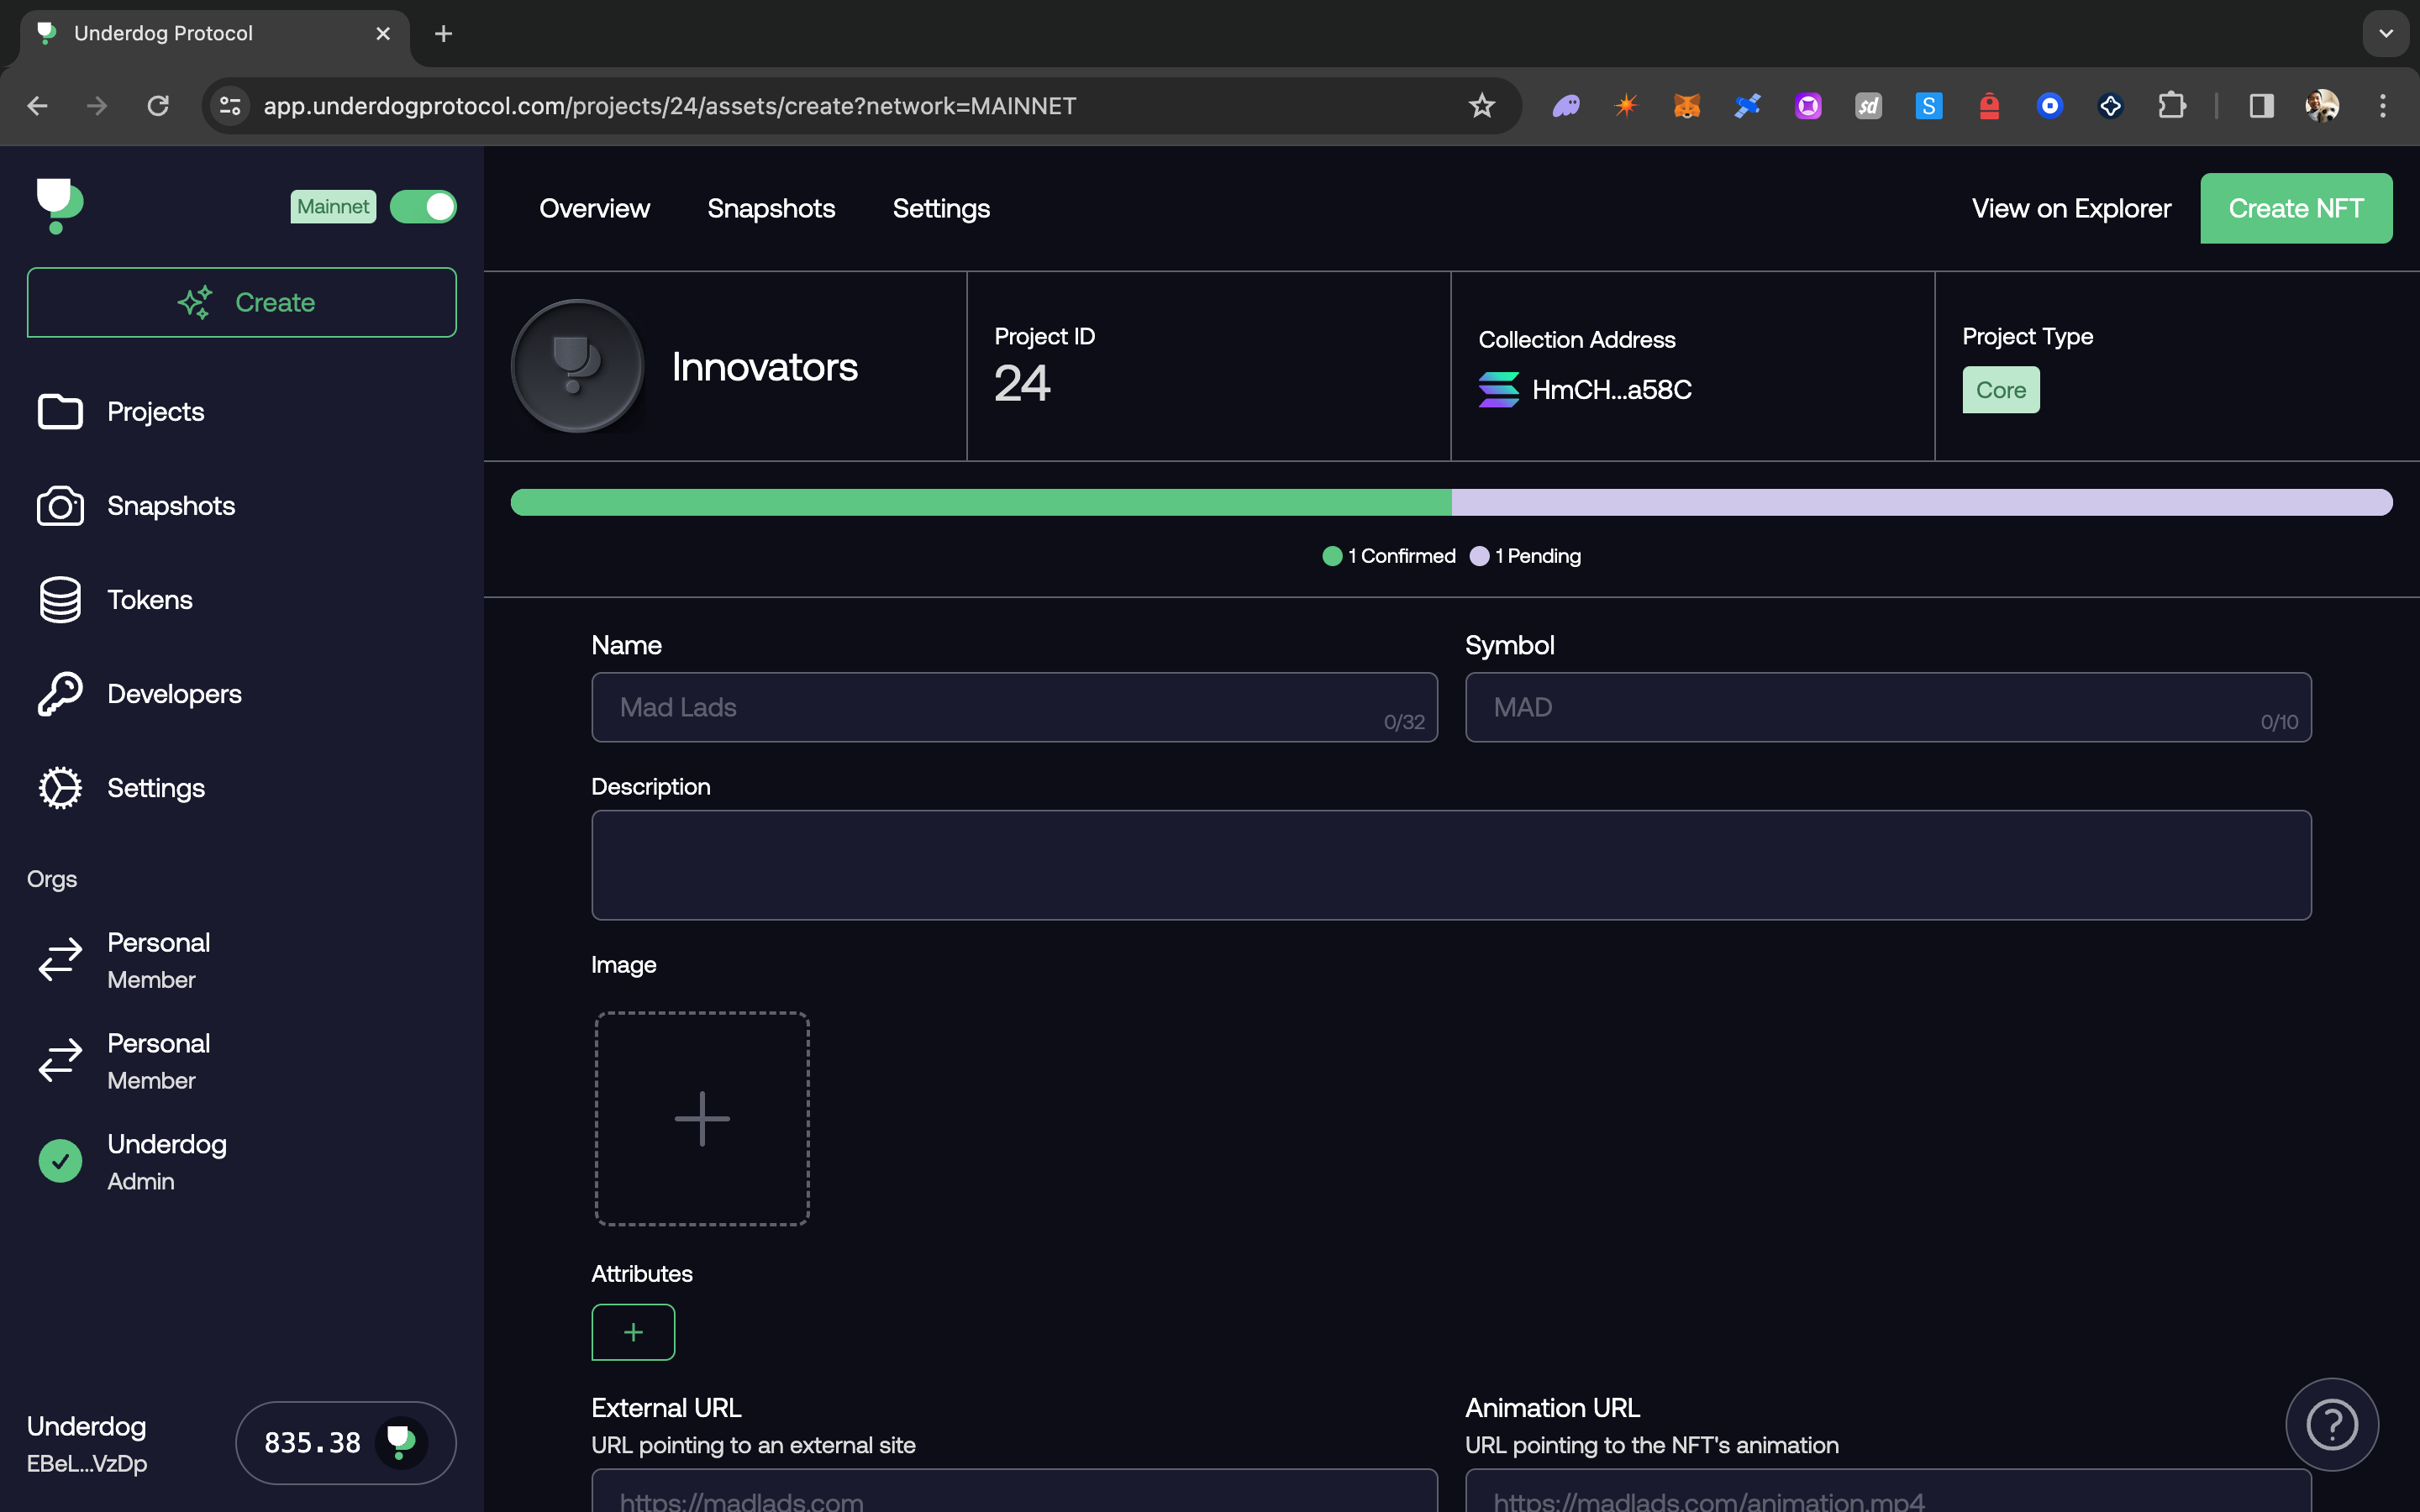
When you create an NFT, it triggers an on-chain transaction to confirm the NFT on-chain.
API Endpoints
Lazily Create NFTs
If you don't want to immediately create the NFT, you can also lazily create the NFT. This prepares the metadata but doesn't create at the specified on-chain address. Once you are ready to confirm the NFT on-chain, you can generate a transaction that the claimer must sign.
While you can integrate the API endpoint that generates the claim transaction into your own application, you can also direct users to an Underdog-powered claim site.
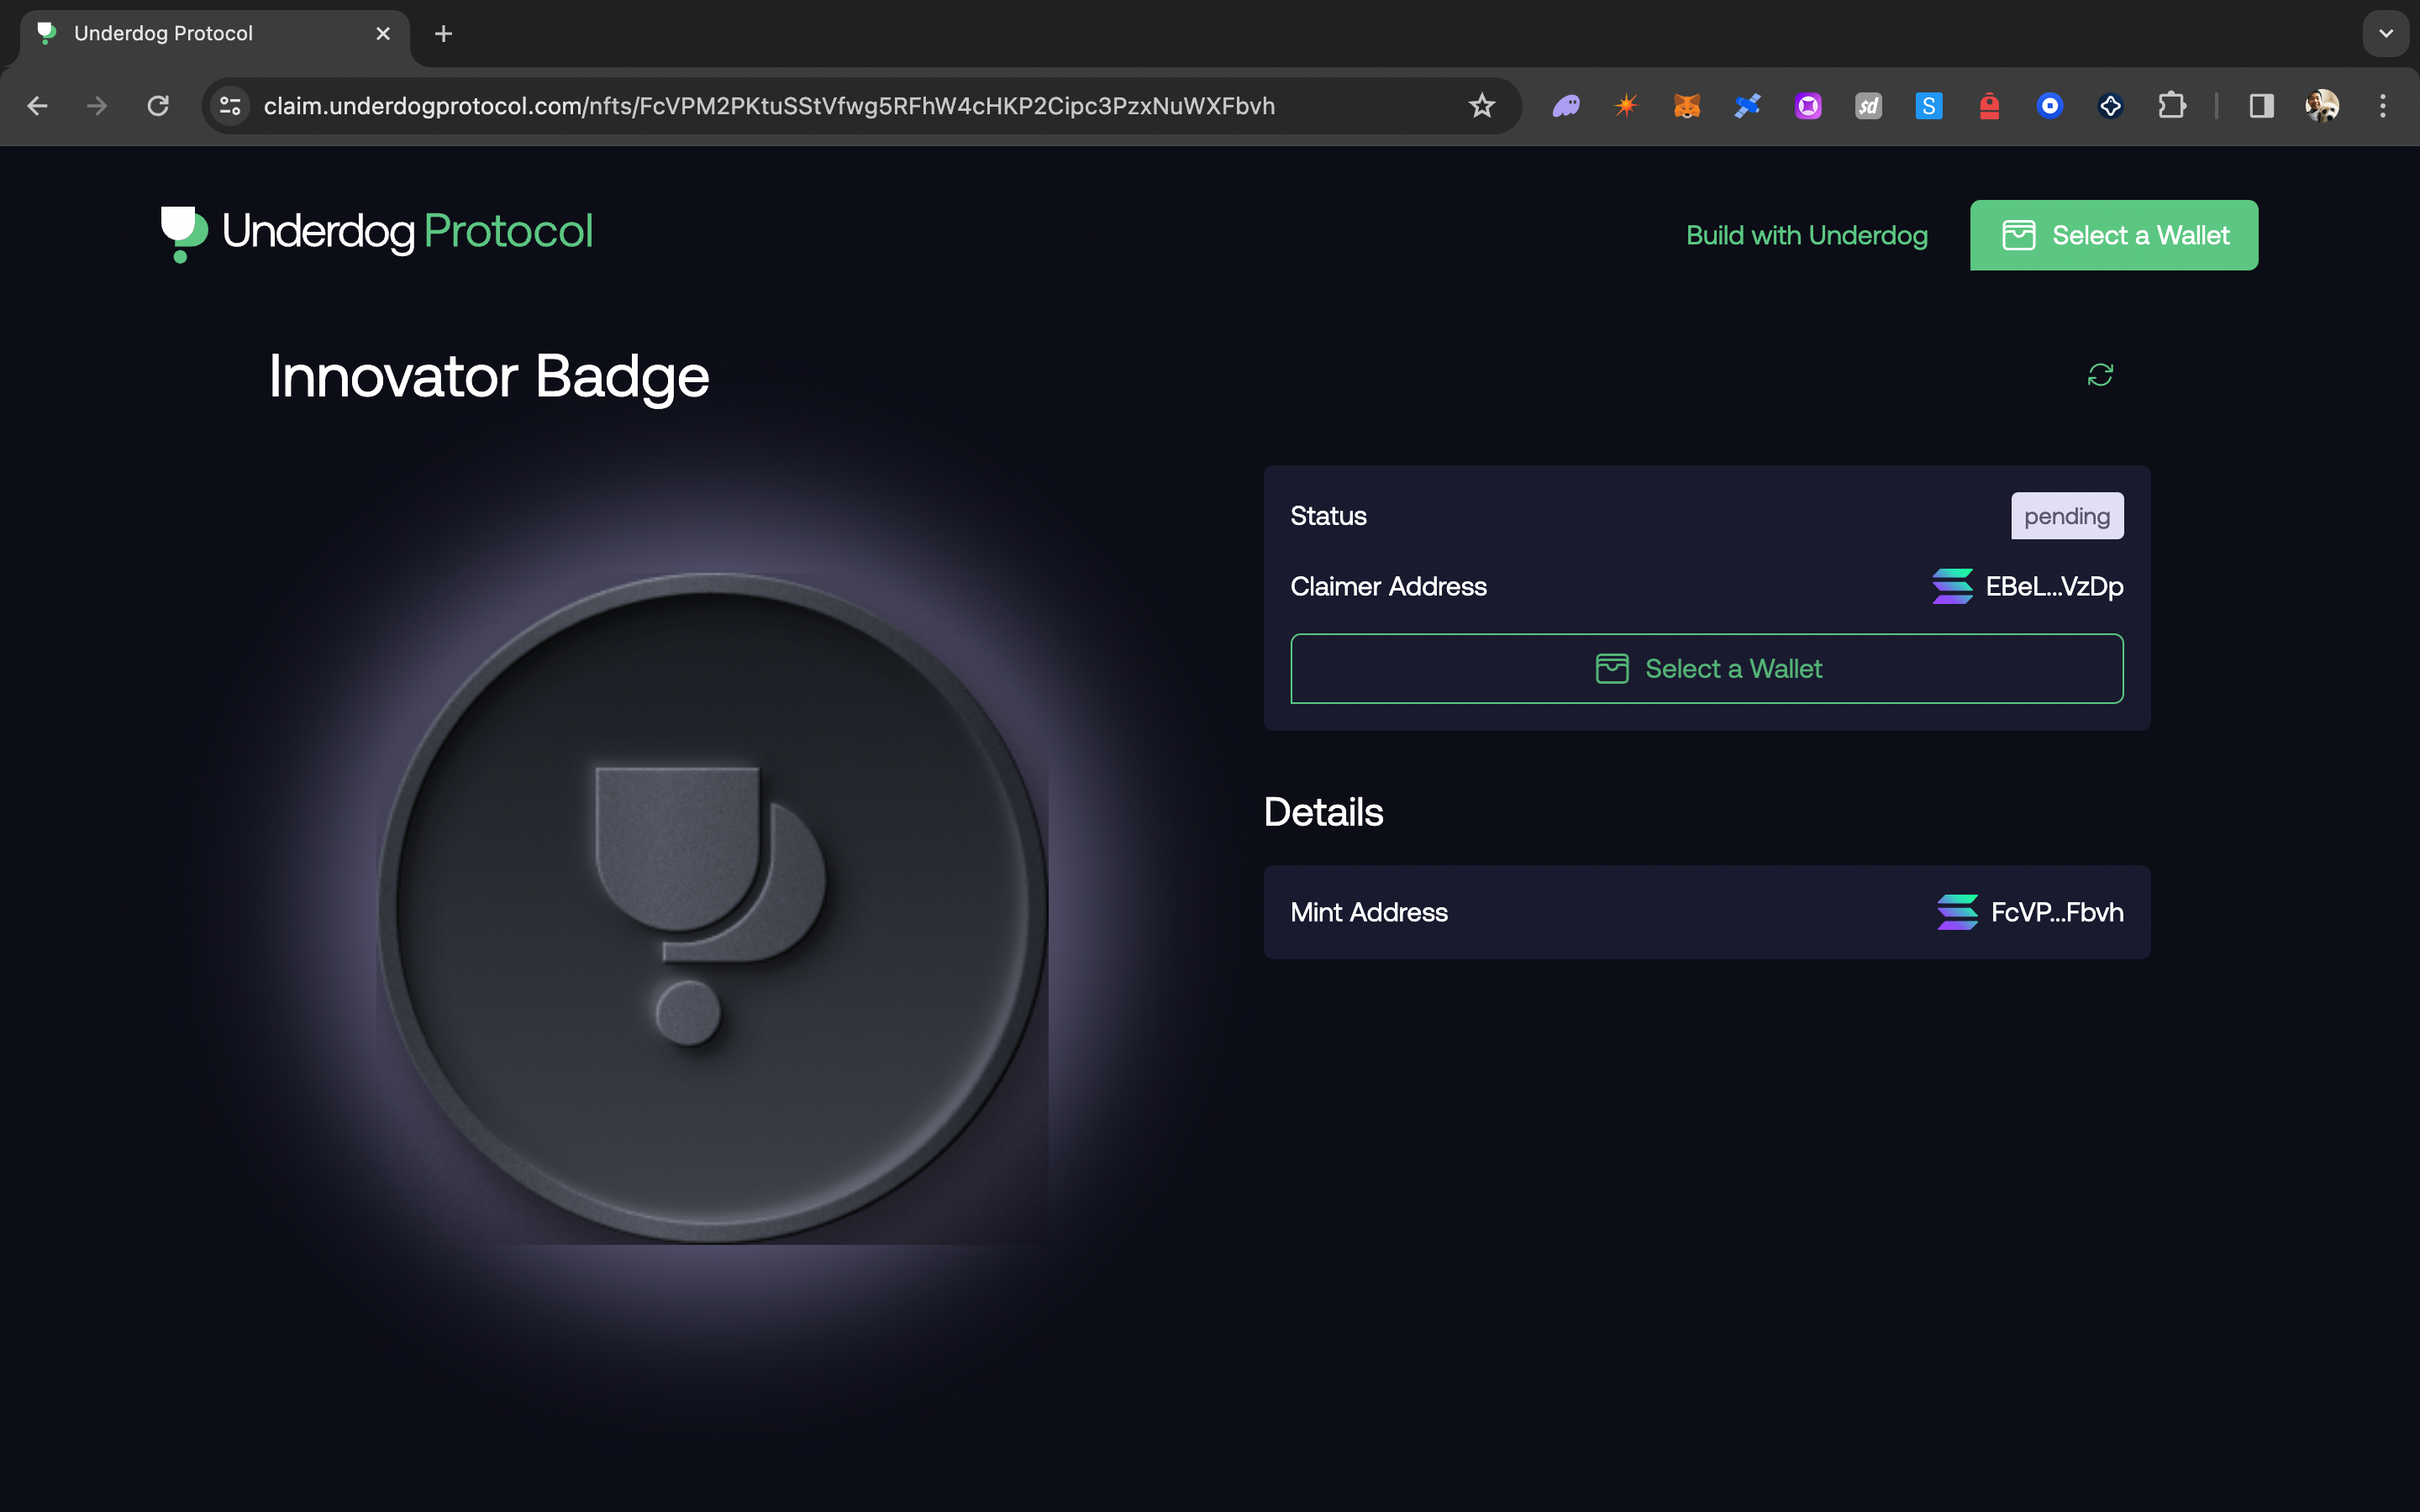
Claim links use the following format: https://claim.underdogprotocol.com/nfts/:address. Here is an example claim page .
API Endpoints
Retrieve NFT Claim Transaction
Update NFTs
You can continue to update an NFT's metadata once it has been created. When NFTs are updated, they create an on-chain transaction that updates the on-chain metadata URI to make sure CDNs and indexers pick up any changes to off-chain metadata.
API Endpoints
Delegated NFTs
Delegated NFTs leverages mpl-core plugins to retain full authority over the NFT. Delegated NFTs are non-transferable and can be transferred or burned via the dashboard or API.
You can toggle delegated when creating NFTs in the dashboard or pass delegated: true in the request body.
API Endpoints
FAQ
What are the advantages of using Core?
Core NFTs are cheaper than legacy mpl-token-metadata NFTs. They are designed without a dependency on Solana's spl-token library which was built for fungible tokens.